How to Create a Wedding Invitation Video: Step-by-Step Guide
So you've decided you want a wedding invitation video instead of a plain printed card. Good choice — but now comes the actual work of making one. Whethe...
So you've decided you want a wedding invitation video instead of a plain printed card. Good choice — but now comes the actual work of making one. Whether you're planning to do it yourself or brief a designer, understanding the process end-to-end will save you a lot of back-and-forth and last-minute stress.
So you've decided you want a wedding invitation video instead of a plain printed card. Good choice — but now comes the actual work of making one. Whether you're planning to do it yourself or brief a designer, understanding the process end-to-end will save you a lot of back-and-forth and last-minute stress.
Here's a clear, practical walkthrough of how a wedding invitation video actually comes together.
Step 1: Decide the Core Details First
Before touching any design tool, sit down and finalize the non-negotiable details: wedding date, venue, timing, and the exact spelling of names (yours, your partner's, and both families'). It sounds obvious, but a surprising number of couples start designing before locking these details, only to redo the entire video when the venue changes.
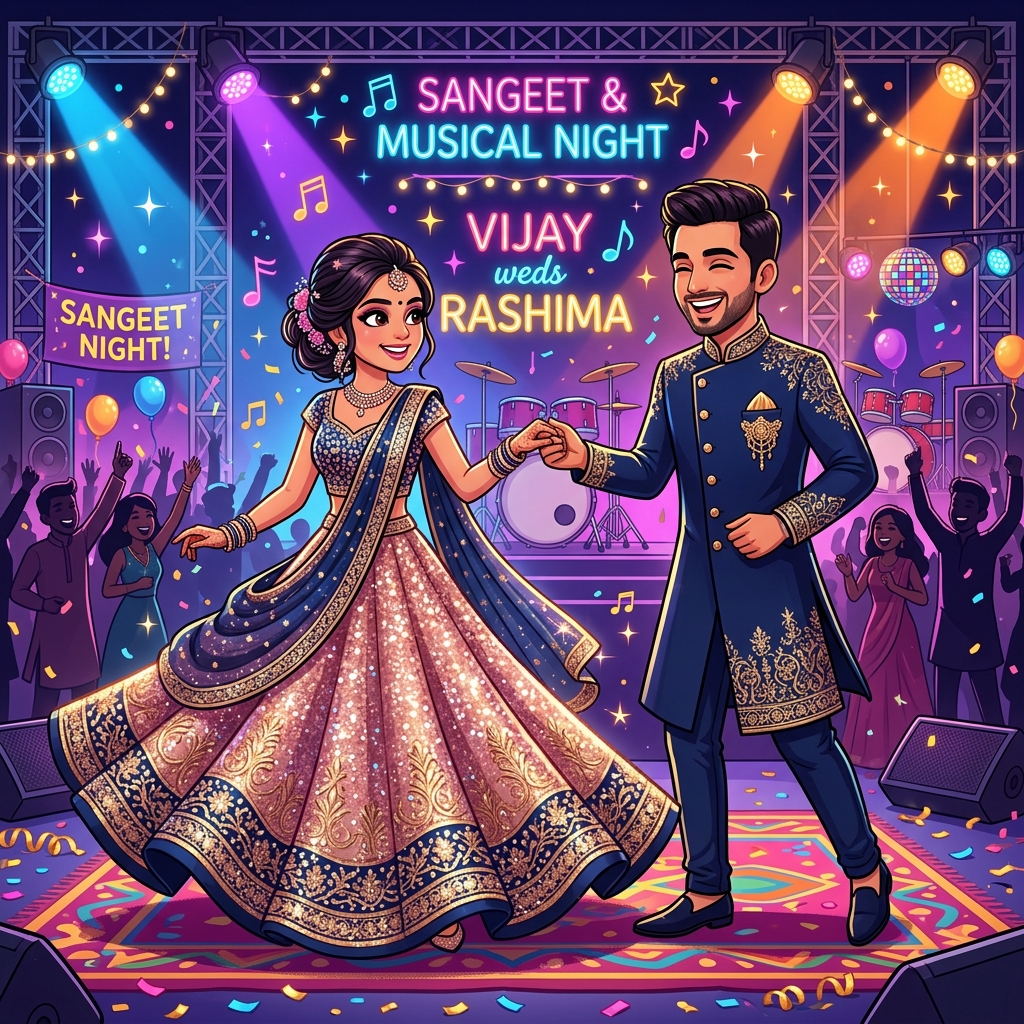
Also decide which events you want to include. Just the wedding day, or the full lineup — haldi, mehendi, sangeet, and reception? This affects the length and structure of your video significantly.
Step 2: Choose Your Video Style
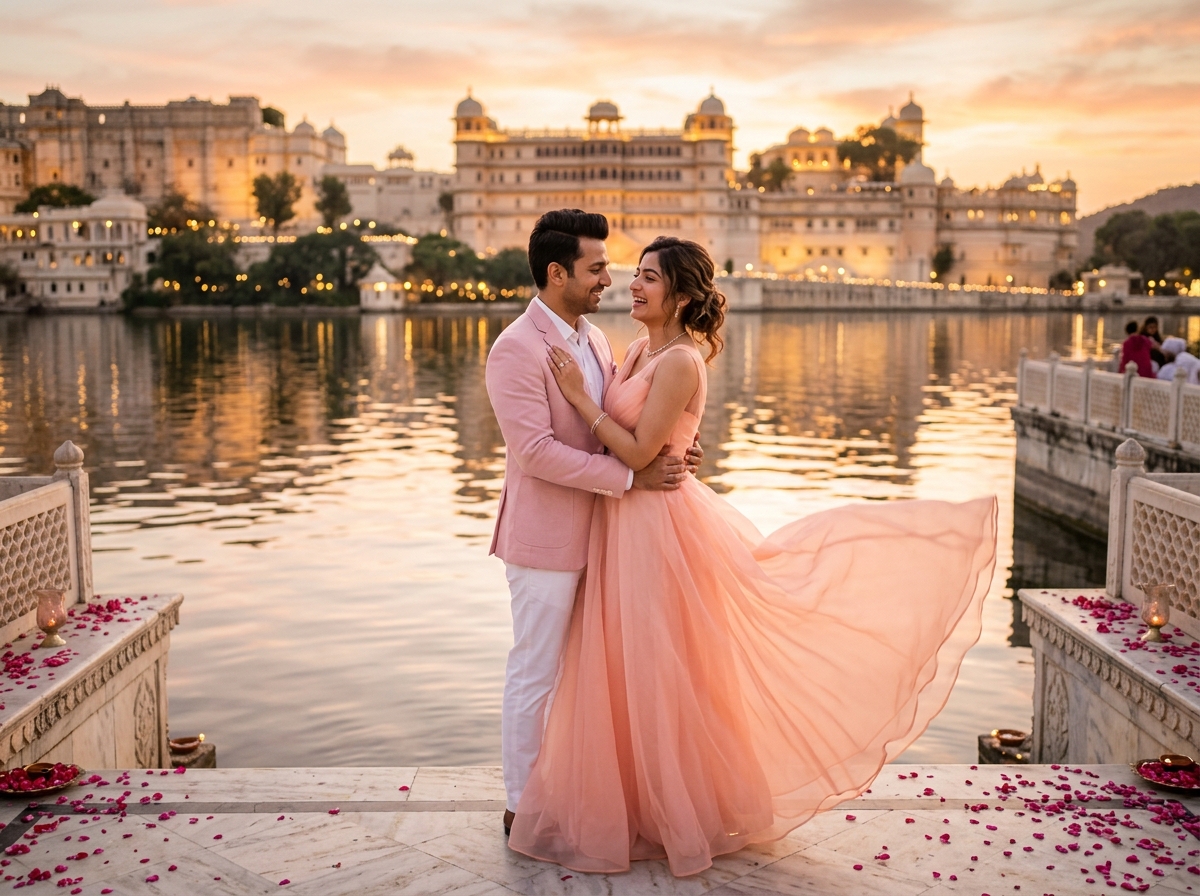
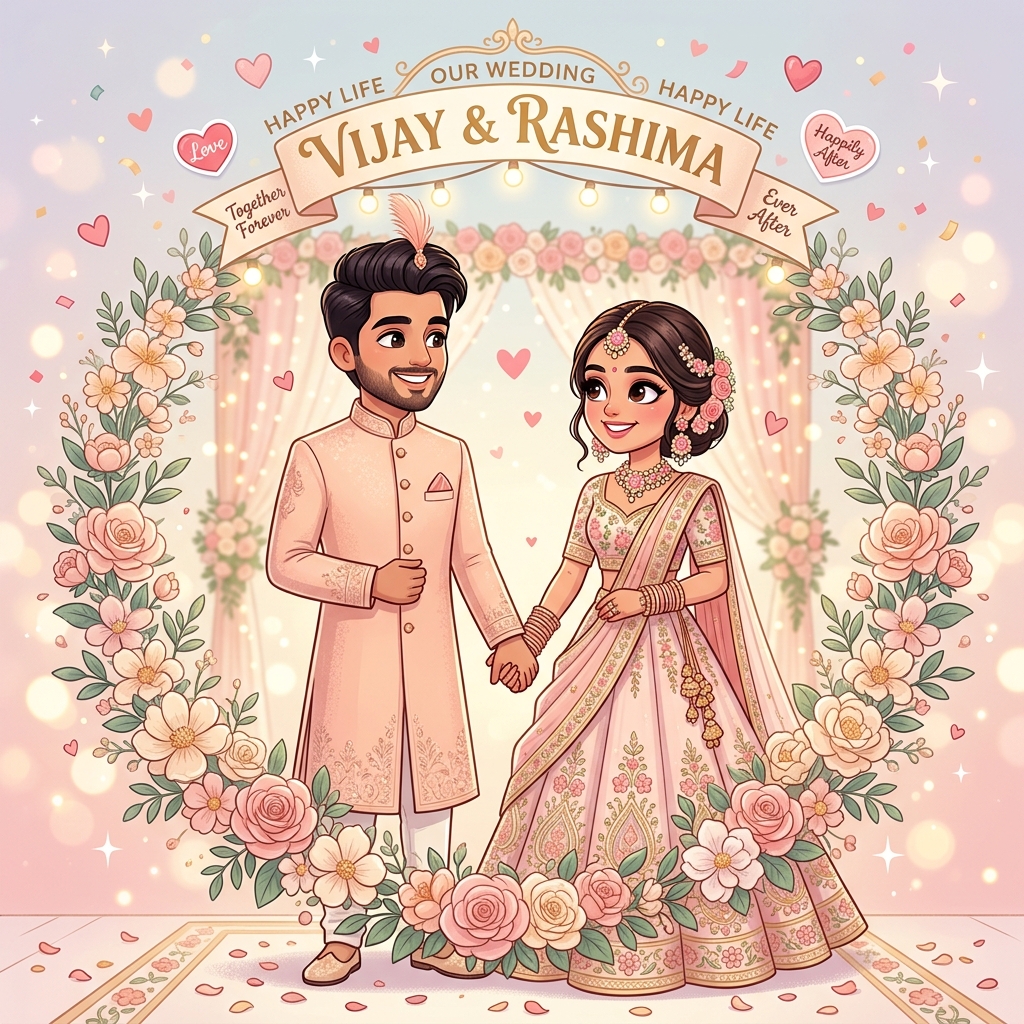
Think about the tone you want. Traditional and elegant? Fun and animated? Cinematic with real photos? Your video style should match your wedding's overall vibe. A destination beach wedding calls for a very different look than a traditional temple wedding in your hometown.
If you're unsure, look at a few reference videos online or ask your designer for style samples before committing.
Step 3: Gather Your Content
Collect everything you'll need: a good couple photo (if you're including one), family photos if you want a family introduction segment, your wedding logo or monogram if you have one designed, and any specific colors or motifs that matter to your family, like a particular flower or regional symbol.
Having all of this ready before the actual video creation begins speeds things up considerably.
Step 4: Pick a Platform or Tool
If you're going the DIY route, Canva is by far the easiest starting point. It has hundreds of pre-built wedding invitation video templates that you simply customize with your text, photos, and colors. Other options include CapCut for more control over animations and transitions, or dedicated wedding invitation apps that specialize in Indian wedding templates.
If you're hiring a professional, this is the stage where you brief them clearly with your details, style preference, and reference videos.
Step 5: Add Your Text and Details
Layer in your wedding details onto the template — names, date, venue, family names, and event schedule. Keep sentences short. Nobody wants to pause a video to read a paragraph. Use bullet-style reveals for the event schedule so each function gets its own few seconds on screen.
Double-check spellings here especially. Names getting misspelled in a video that's already been sent out is far harder to fix than in a text message.
Step 6: Choose Background Music
Music sets the entire mood. A shehnai or dhol track works for traditional weddings, while a soft instrumental or acoustic track suits minimalist, modern invites. Make sure the music isn't copyrighted if you're posting the video publicly on Instagram, since that can get it muted or taken down.
Step 7: Add Transitions and Animations
This is where the video starts feeling polished rather than like a slideshow. Smooth fade-ins, gentle zoom effects, and text that slides in rather than just appearing all make a noticeable difference. Avoid overdoing it, though — too many flashy transitions can feel chaotic rather than elegant.
Step 8: Review on a Phone Screen
Before finalizing, watch the video on an actual phone, not just your laptop. Text that looks fine on a large screen can become unreadable on mobile. This is the single most skipped step, and it causes the most complaints after the video has already gone out.
Step 9: Export in the Right Format
Export your video in MP4 format, ideally in a vertical or square aspect ratio since most people will view it on WhatsApp or Instagram. A horizontal video often gets cropped awkwardly on mobile screens.
Step 10: Share Strategically
Don't just dump the video into every group chat at once. Consider sending it first to close family for their blessing and feedback, then a wider circle. For guests abroad, email works well too, alongside the WhatsApp share.
How Long Should the Whole Process Take?
If you're doing it yourself with a template tool like Canva, expect to spend anywhere from two to five hours depending on how many revisions you make. Working with a professional designer usually takes three to seven days from briefing to final delivery, including at least one round of revisions.
Final Tip
Don't leave this task for the last week before your wedding. Between finalizing guest lists, event planning, and everything else on your plate, a wedding invitation video deserves a calm, unhurried process — not a rushed one at midnight, three days before the wedding.
Need a wedding invitation that feels like you?
Explore our shareable digital cards and website templates, or tell us about your celebration directly on WhatsApp.
Chat on WhatsApp